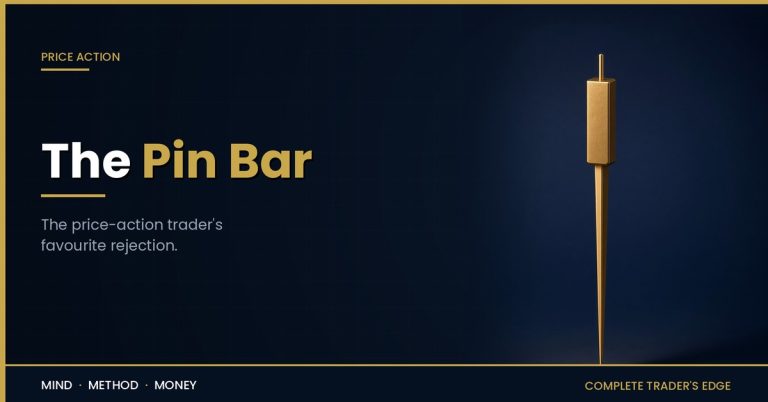


The hammer, the shooting star, and the hanging man look like three different candlestick patterns. They are really one idea wearing three names: a single candle with a long wick and a small body — a rejection. And that wick is the entire signal. Read through a smart-money lens, a long wick is not indecision or a shape to memorise; it is the visible mark of price reaching for liquidity, grabbing it, and being thrown straight back. Learn to read the wick and these three candles collapse into one simple, powerful concept.
This guide covers all three, what the wick is actually telling you, how to trade the rejection with defined risk, and why the same candle can be bullish in one place and bearish in another.
The Three Candles
A hammer has a long lower wick, a small body near the top, and appears at the bottom of a downtrend. Price was driven down hard during the candle and then bought all the way back up — a bullish rejection.
A hanging man is the exact same shape — long lower wick, small body on top — but it appears at the top of an uptrend, where it is a bearish warning that selling pressure is starting to appear beneath the surface.
A shooting star is the mirror: a long upper wick with a small body near the bottom, at the top of an uptrend. Price was pushed up hard and then sold all the way back down — a bearish rejection.
Notice the crucial detail: the hammer and the hanging man are identical candles. What makes one bullish and one bearish is not the shape. It is the location.
On the chart: a hammer at the bottom of a downtrend (long lower wick sweeping a low) and a shooting star at the top of an uptrend (long upper wick sweeping a high).
What the Wick Really Means
A long wick is the footprint of a round trip that failed. For a hammer, price fell to the low of the candle and then reversed all the way back — every seller who entered near that low is now underwater, and every buyer who was stopped out has been shaken loose. The wick shows you exactly how far price went before it was rejected.
Through a smart-money lens, that long lower wick at a level is a liquidity sweep. Price dipped below an obvious low to trigger the stop-losses resting there, filled the larger buy orders against that liquidity, and snapped back up. The hammer is not a magic reversal candle; it is the visible evidence that the lows were swept and buyers immediately took control. The shooting star is the same event at the top — a sweep of the highs and an instant rejection. This is why these candles work when they work: they mark the precise spot where a liquidity grab was rejected.
How to Trade It
Location. The candle only counts at a level that matters — a key support or resistance, a supply or demand zone, or a spot where an obvious liquidity pool has just been swept. A hammer in the middle of a downtrend with nothing beneath it is not a reversal signal.
Confirmation. Wait for the next candle to follow through in the direction of the rejection. A hammer at support followed by a strong bullish candle is a setup; the hammer alone is a hint.
Stop and target. Place your stop just beyond the wick’s extreme — below the hammer’s low, above the shooting star’s high. That point is where the rejection is proven wrong. Target the next liquidity pool or structural level, and risk no more than 1% of your account.
The wick is the trade. When a long wick sweeps a liquidity level and rejects, the extreme of that wick gives you a natural, tight stop and a clear invalidation. That is what makes these candles so useful: the market has already shown you exactly where it is wrong.
The Catch: Shape Is Not Signal
The most important lesson here is that the same candle means opposite things in different places. A hammer and a hanging man are the same shape; a hammer at a low is bullish, the identical candle at a high is a bearish warning. This is why memorising candle shapes in isolation is close to useless. What you are really trading is a rejection at a level, and the candle is just the way that rejection shows up on your chart.
Treat these candles as one concept — a wick rejection — and always ask the same two questions: where did this happen, and did the next candle confirm it? Get those right and the names stop mattering.
Key Takeaways
- Hammer, hanging man, and shooting star are all one thing: a long-wick rejection candle.
- The long wick is a liquidity sweep — price grabbed the stops beyond a level and was rejected.
- Hammer and hanging man are the same shape; location decides whether it is bullish or bearish.
- Trade only at a real level, with confirmation from the next candle.
- Stop just beyond the wick’s extreme — the market has shown you exactly where it is wrong.
Frequently Asked Questions
What is the difference between a hammer and a hanging man?
They are the same candle — a long lower wick with a small body on top. A hammer appears at the bottom of a downtrend and is bullish; a hanging man appears at the top of an uptrend and is a bearish warning. The shape is identical; only the location changes the meaning, which is why context matters more than the pattern name.
Is a shooting star a reliable reversal signal?
It can be, at the right place. A shooting star at a significant resistance level or after a sweep of the highs, confirmed by the next candle, is a genuine rejection worth trading. A shooting star in the middle of a strong uptrend with no level above it is usually just noise. Reliability lives in location and confirmation, not in the candle alone.
These wick candles are part of our complete guide to candlestick patterns and the wider method of price action trading.
Learn to read candles through the lens of liquidity and structure with the Mind · Method · Money framework in The Complete Trader’s Edge by Louw van Riet.
 The Complete Trader's Edge
The full Mind · Method · Money framework. 70 chapters.
View on Amazon →
The Complete Trader's Edge
The full Mind · Method · Money framework. 70 chapters.
View on Amazon →
 Market Mayhem
400 years of bubbles, crashes, and the pattern that keeps repeating.
Buy on Amazon →
Market Mayhem
400 years of bubbles, crashes, and the pattern that keeps repeating.
Buy on Amazon →
 Greatest Companies
How the world's greatest companies were built — and what traders learn from them.
View on Amazon →
Greatest Companies
How the world's greatest companies were built — and what traders learn from them.
View on Amazon →
 Greatest Traders
Eighty-six lives that explain the markets — Livermore to Madoff, told with the losses left in.
View on Amazon →
Greatest Traders
Eighty-six lives that explain the markets — Livermore to Madoff, told with the losses left in.
View on Amazon →